DIY Baseball Scoreboard: The Ultimate Guide to Tracking Your Games
Building a Diy Baseball Scoreboard is a rewarding project that adds a touch of nostalgia and functionality to any backyard or baseball field. Not only does it elevate the game-day experience, but it also provides a constant reminder of your craftsmanship and love for the sport. Whether you’re a seasoned woodworker or a DIY enthusiast looking for a new challenge, this comprehensive guide will equip you with everything you need to know to create your own scoreboard from scratch. Let’s dive in!
Planning Your DIY Baseball Scoreboard
Before you grab your hammer and nails, careful planning is essential to ensure a successful project. Here’s a step-by-step breakdown of the planning phase:
-
Determine the Size and Design: Consider the dimensions of your backyard or field and choose a size that’s proportionate to the space. Sketch out different design ideas, taking inspiration from classic scoreboards or incorporating your own creative flair.
-
Select Materials: The materials you choose will impact the scoreboard’s durability, aesthetics, and overall cost. Common options include:
- Wood: A classic choice that’s readily available and easy to work with. Pressure-treated lumber is recommended for outdoor use.
- PVC: Lightweight, weather-resistant, and requires minimal maintenance.
- Metal: Offers exceptional durability but can be more challenging to work with.
-
Choose a Scoring Mechanism: Decide how you want to update the score:
- Manual: A simple and cost-effective option using number cards or flip-over digits.
- Digital: Provides a more modern and professional look, with options for LED displays or electronic scoreboards.
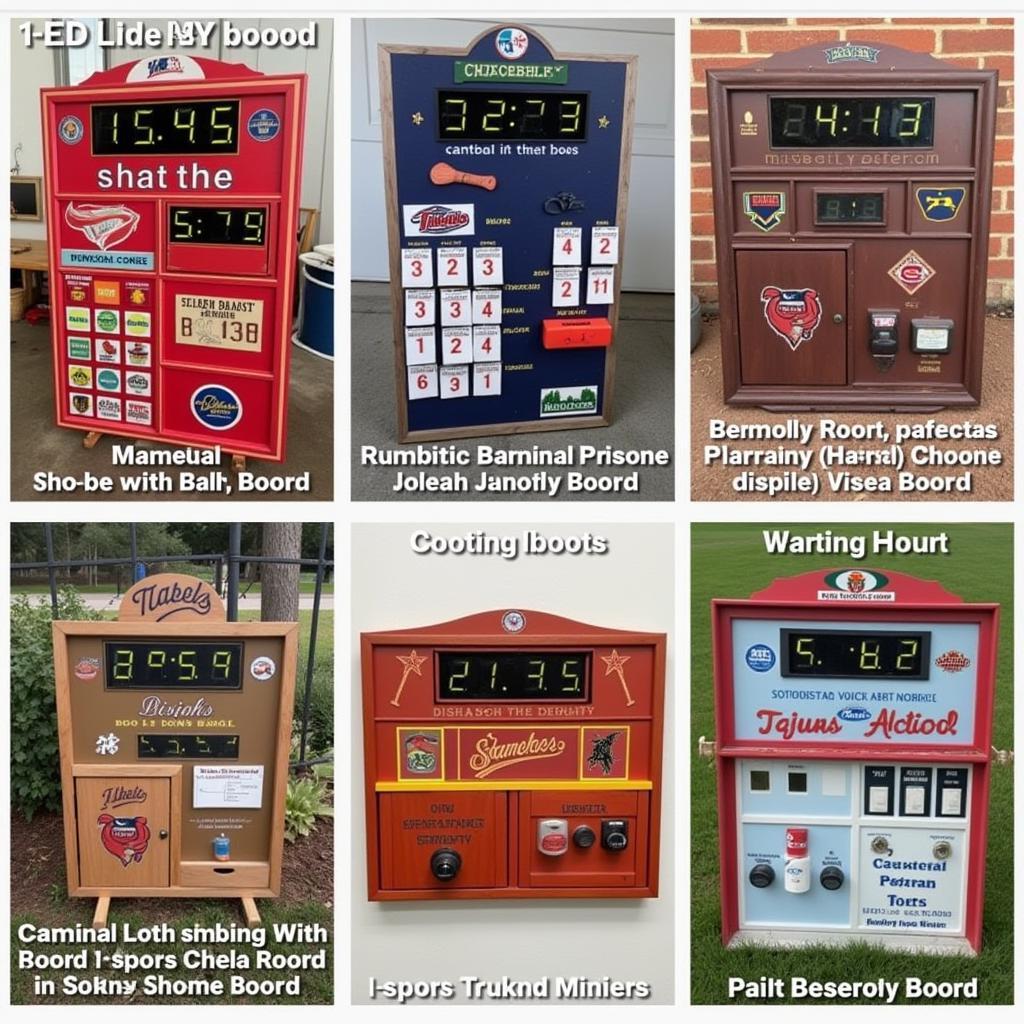 DIY Baseball Scoreboard Design Ideas
Gathering Your Tools and Materials
Once you have a clear plan in place, it’s time to gather the necessary tools and materials:
Tools:
- Measuring Tape
- Saw (Circular Saw or Jigsaw recommended)
- Drill
- Screwdriver
- Level
- Sandpaper
- Paintbrushes or Spray Paint
- Safety Glasses and Gloves
Materials:
- Lumber or PVC pipes (based on your chosen design)
- Plywood or MDF for the scoreboard face
- Number Cards or Digits (for manual scoreboards)
- LED Display or Electronic Scoreboard (for digital scoreboards)
- Screws or Nails
- Wood Glue
- Paint and Primer (if desired)
- Weatherproofing Sealant (for outdoor use)
Building the Scoreboard Frame
The frame provides the structural support for your scoreboard. Follow these steps for a sturdy construction:
-
Cut the Lumber or PVC: Using your measurements, cut the lumber or PVC pipes to the desired lengths for the frame’s top, bottom, sides, and any supporting beams.
-
Assemble the Frame: Securely attach the frame pieces together using screws or nails, ensuring the corners are square and the structure is level.
-
Reinforce the Frame: Add diagonal braces or cross supports to enhance the frame’s stability and prevent warping.
Creating the Scoreboard Face
The scoreboard face is where the magic happens. Here’s how to bring it to life:
-
Cut the Plywood or MDF: Measure and cut the plywood or MDF sheet to fit the dimensions of your frame.
-
Mark the Scoring Areas: Use a pencil to carefully mark out the areas for the team names, innings, and score digits.
-
Paint or Decorate: Paint the scoreboard face in your team colors or apply a coat of primer for a clean finish. You can also add team logos, player names, or other decorative elements.
-
Install the Scoring Mechanism: Attach the number cards, flip-over digits, or digital display components according to the chosen scoring mechanism.
Finishing Touches and Installation
With the scoreboard nearly complete, it’s time for the finishing touches:
-
Apply Weatherproofing Sealant: Protect your hard work from the elements by applying a weatherproofing sealant to all exposed surfaces.
-
Install Mounting Hardware: Attach sturdy mounting brackets or hooks to the back of the scoreboard for secure installation.
-
Choose a Location: Select a suitable location for your scoreboard, ensuring it’s visible to players and spectators alike.
-
Mount the Scoreboard: Carefully lift and mount the scoreboard onto the chosen surface, ensuring it’s level and securely attached.
Conclusion
Building a DIY baseball scoreboard is a fulfilling project that combines creativity, craftsmanship, and a passion for the game. By following this guide and adding your own personal touches, you’ll create a unique and functional centerpiece for countless backyard baseball games to come. So, gather your materials, put on your DIY hat, and let’s get building!