How to Make a Liquor Bottle Cake: A Step-by-Step Guide
Creating a Liquor Bottle Cake is a unique and impressive way to celebrate a special occasion. Whether it’s for a birthday, anniversary, or a festive gathering, this show-stopping centerpiece is sure to wow your guests. This step-by-step guide will equip you with the knowledge and techniques to craft your own incredible liquor bottle cake.
Choosing the Right Ingredients and Tools
The foundation of a successful liquor bottle cake lies in selecting the right ingredients and tools. Opt for high-quality cake mix and frosting that complement the flavor profile of your chosen liquor.
Here’s a checklist to get you started:
- Cake mix and ingredients: Choose your favorite flavor, considering what pairs well with the liquor.
- Frosting: Buttercream frosting works best for its stability and ability to hold its shape.
- Liquor: Select a bottle of your or the recipient’s favorite liquor. Ensure it’s a standard 750ml bottle size.
- Cake board and dowels: These provide support and structure to your cake.
- Fondant or modeling chocolate: Optional, for creating decorative elements.
- Food coloring: Used to achieve desired frosting colors.
- Piping bags and tips: For creating decorative frosting details.
- Offset spatula: For smoothing and spreading frosting.
Baking and Shaping the Cake
-
Bake the cake: Prepare the cake mix according to package instructions. Use a rectangular baking pan for easier carving.
-
Level and cut the cake: Once cooled, level the cake’s top and bottom to create a flat surface. Then, cut the cake into smaller rectangles, approximately the width of the liquor bottle.
-
Assemble the cake: Stack the cake rectangles, using frosting as glue between each layer.
-
Carve the cake: Carefully carve the stacked cake into the approximate shape of a liquor bottle. Don’t worry about perfection at this stage.
Frosting and Decorating the Cake
-
Crumb coat: Apply a thin layer of frosting to the entire cake, sealing in crumbs. Chill for 30 minutes.
-
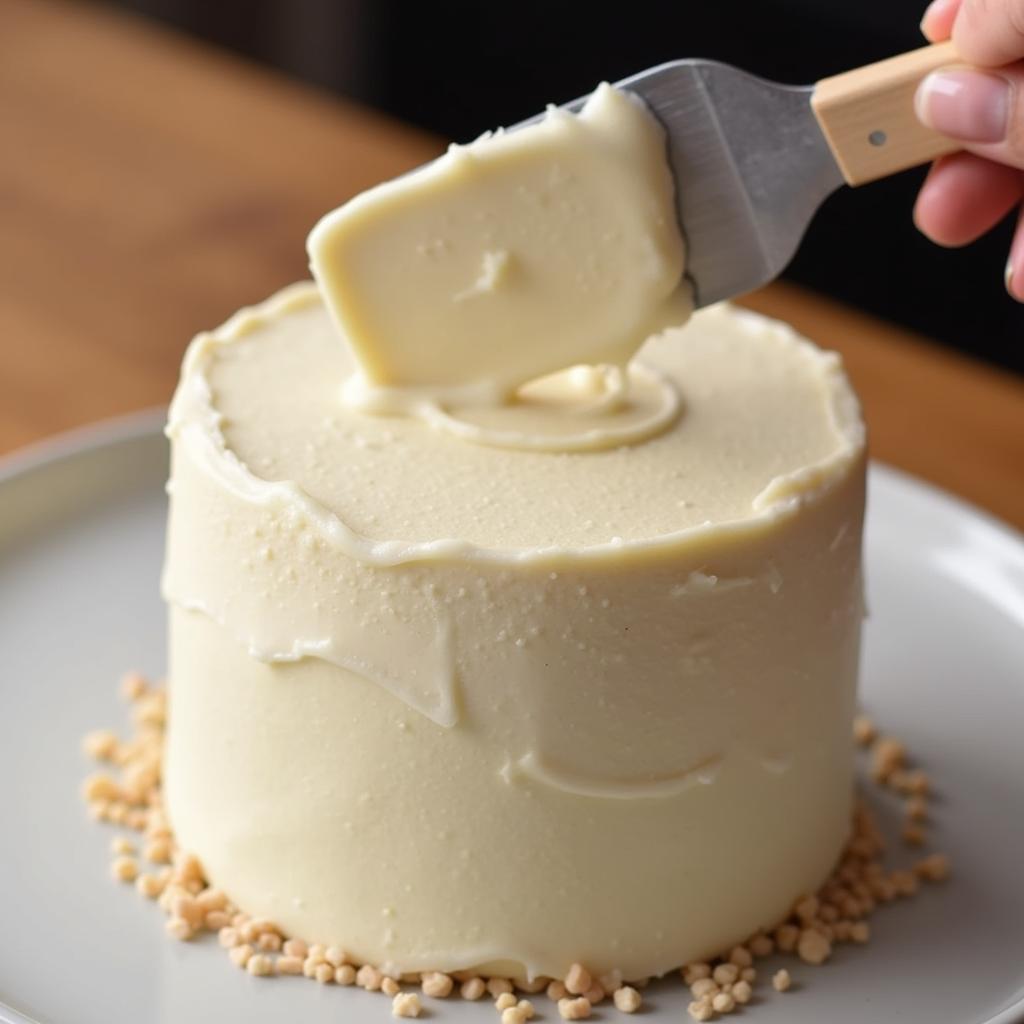
Final frosting layer: Apply a thicker, even layer of frosting. Smooth the surface with an offset spatula.
 Frosting a Liquor Bottle Cake
 -
Decorative elements: This is where you can get creative. Use piping bags and tips to create designs, lettering, or patterns. Add fondant or modeling chocolate details like the liquor label or brand logo.
Tips and Tricks for Success
- Chill the cake: Chilling the cake between steps helps solidify the frosting and prevents it from melting or smudging.
- Use a serrated knife: A serrated knife is best for carving the cake into shape, allowing for more control.
- Practice makes perfect: Don’t be discouraged if your first attempt isn’t flawless. Like any skill, cake decorating takes practice.
Conclusion
Crafting a liquor bottle cake is an achievable feat with a bit of patience and creativity. By following these steps and embracing your artistic side, you can create a stunning centerpiece that will be the talk of the party. So gather your ingredients, unleash your inner baker, and impress everyone with your exceptional cake-making skills!

